All Images
Course overview
Collaborating with Git and GitHub
Branching and merging
Figure 1
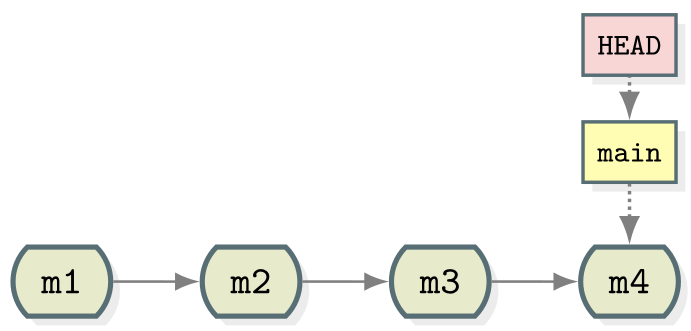
Linear git history
Figure 2
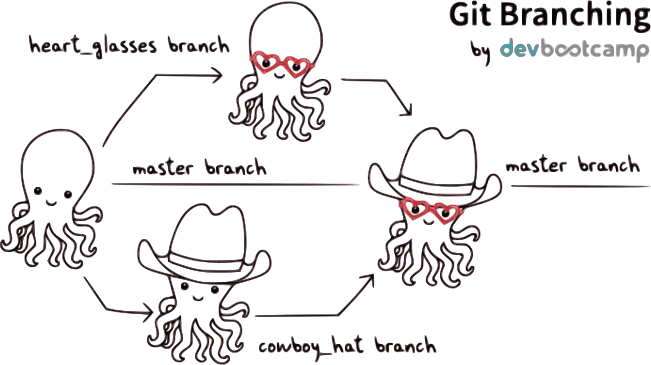
Example of git merge https://twitter.com/jay_gee/status/703360688618536960
Figure 3
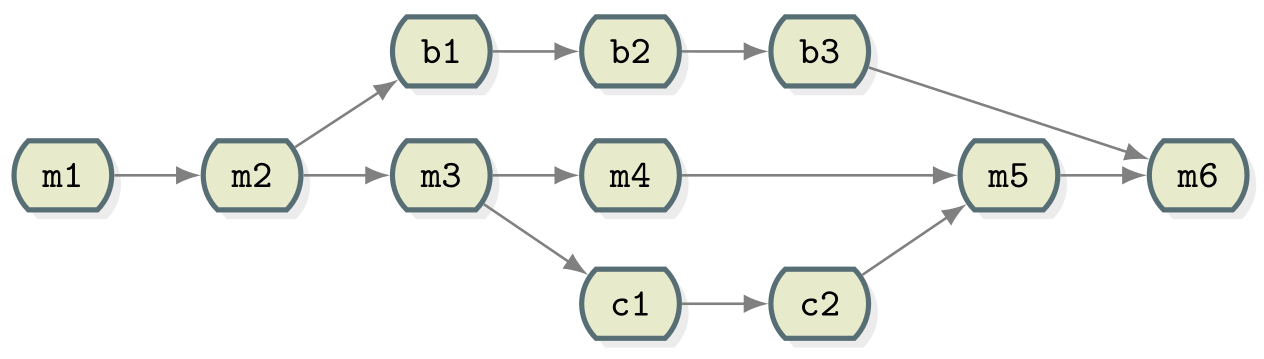
Example of commit history with multiple branches
and merges
Figure 4
Repository before branching
Figure 5

Repository after experiment branch
creation
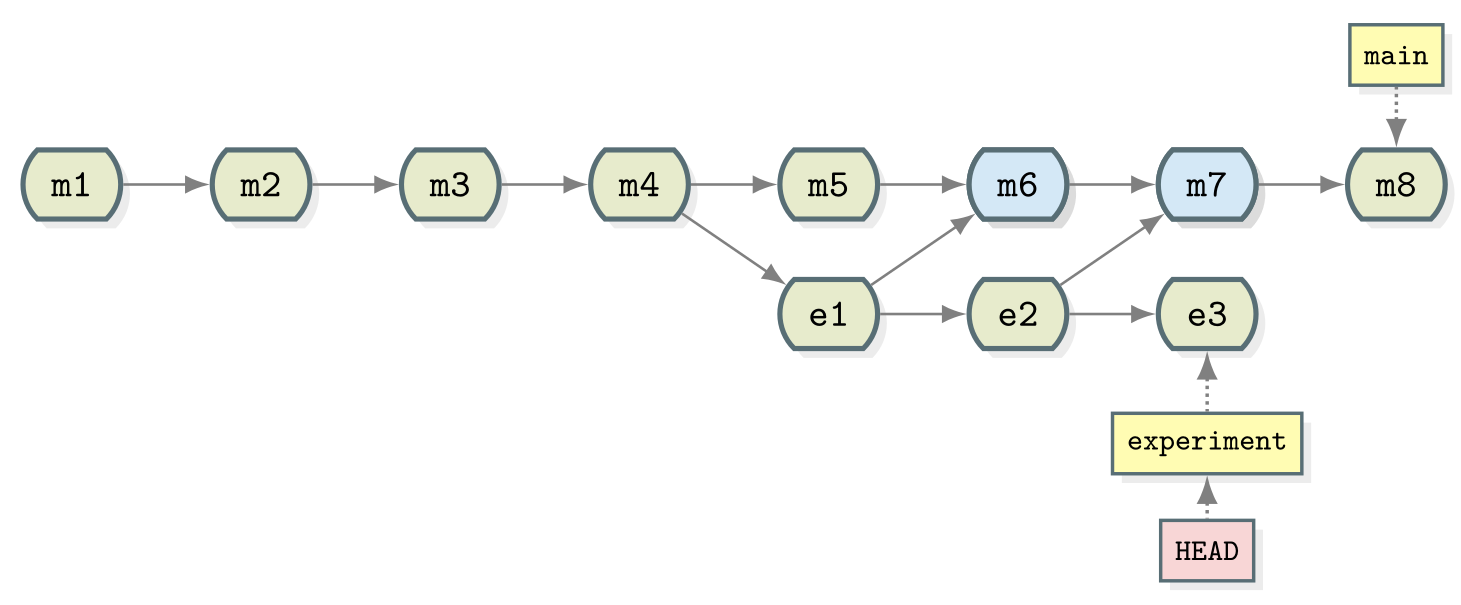
Figure 6
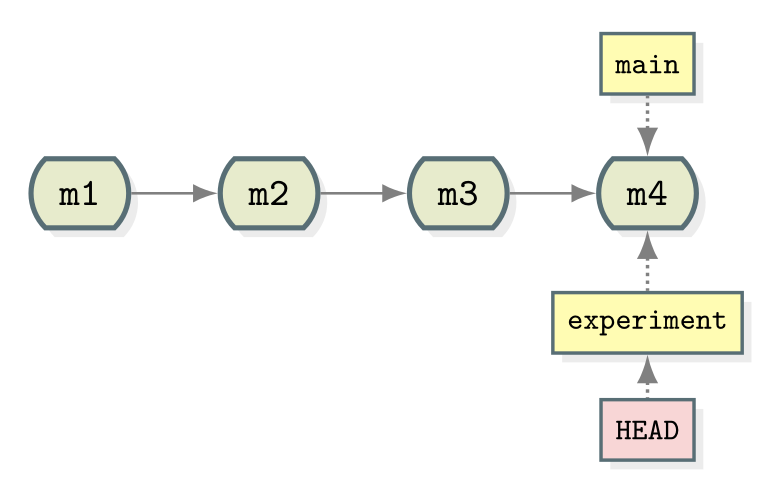
Repository with HEAD at the new experiment
branch
Figure 7
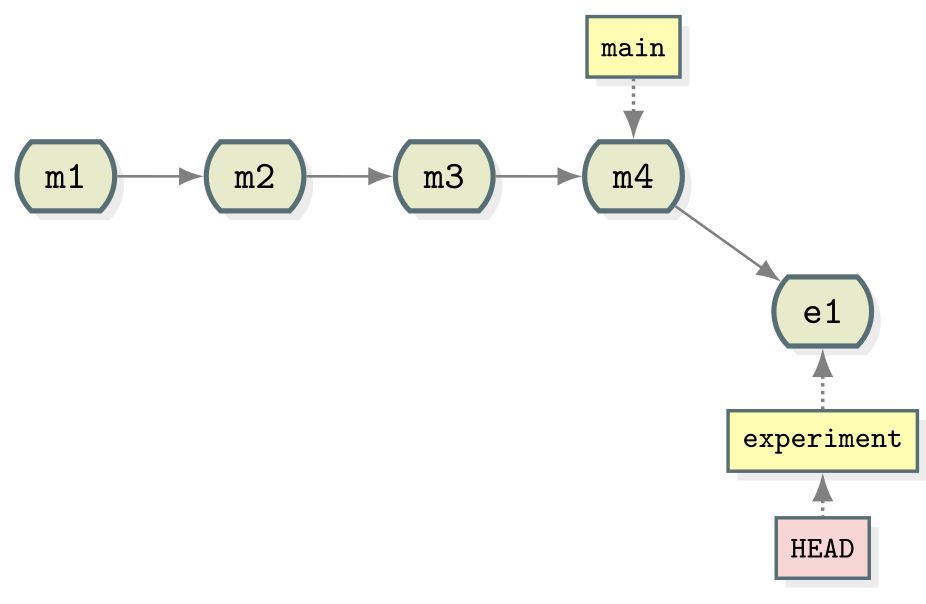
Repository with one commit on the experiment
branch
Figure 8
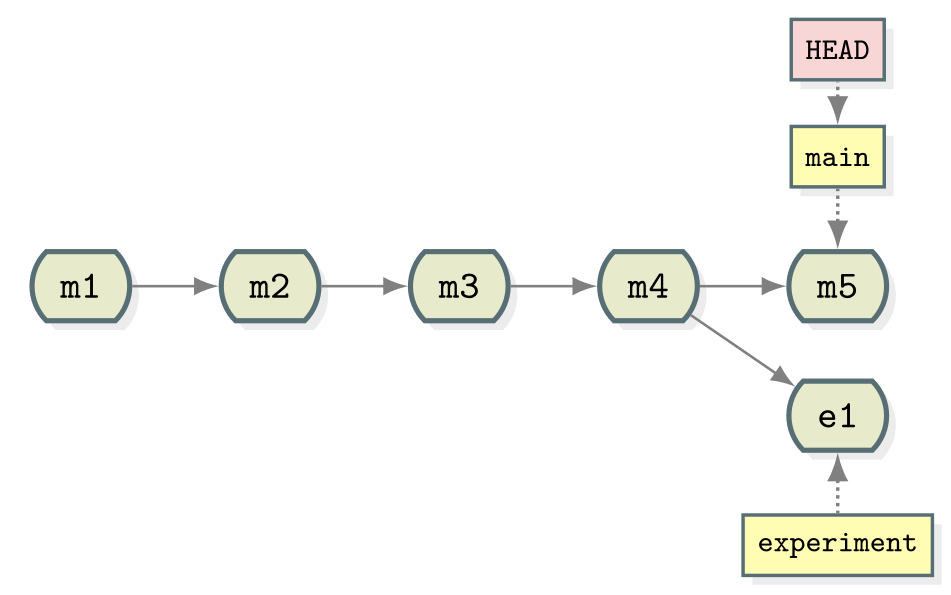
Repository with one commit each on the main and
experiment branches
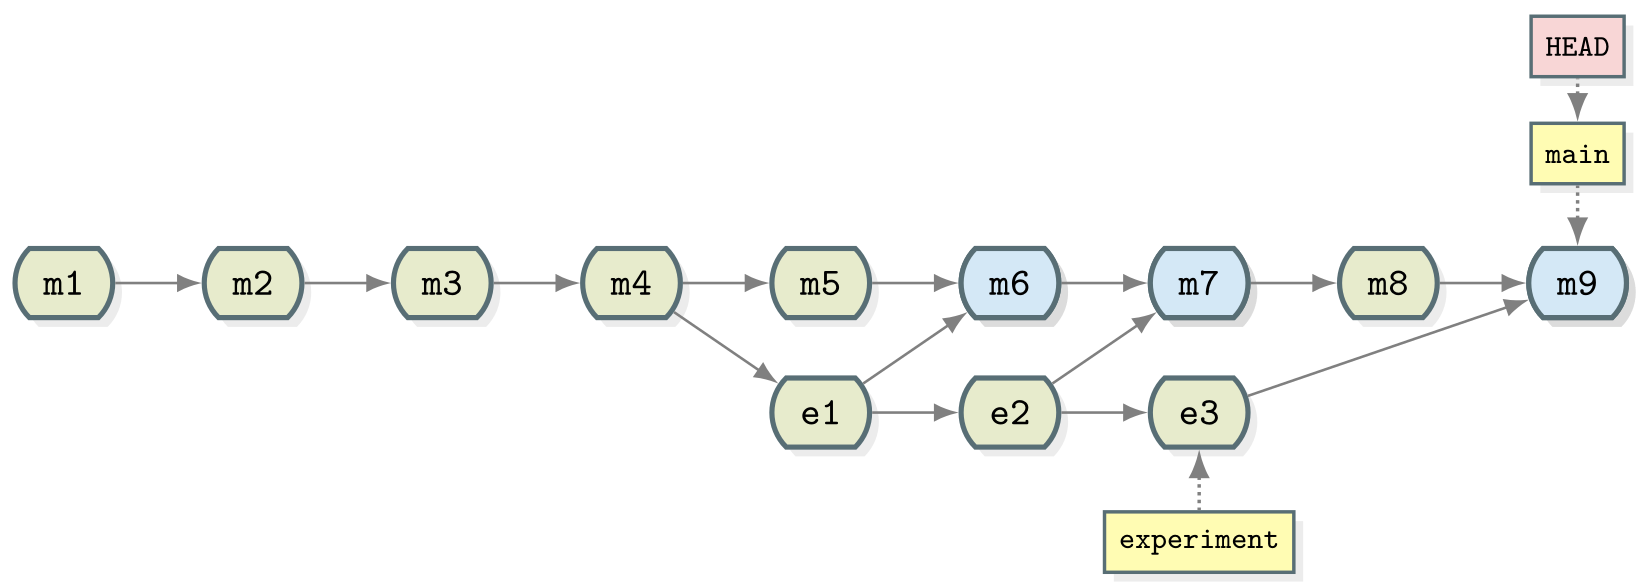
Figure 9
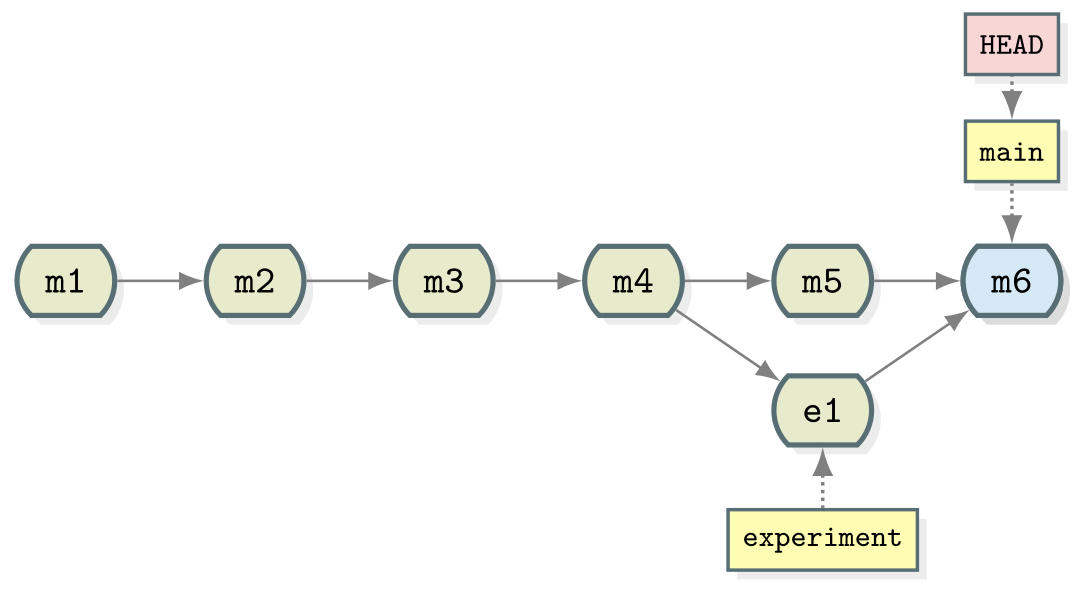
Repository with first merge
Figure 10
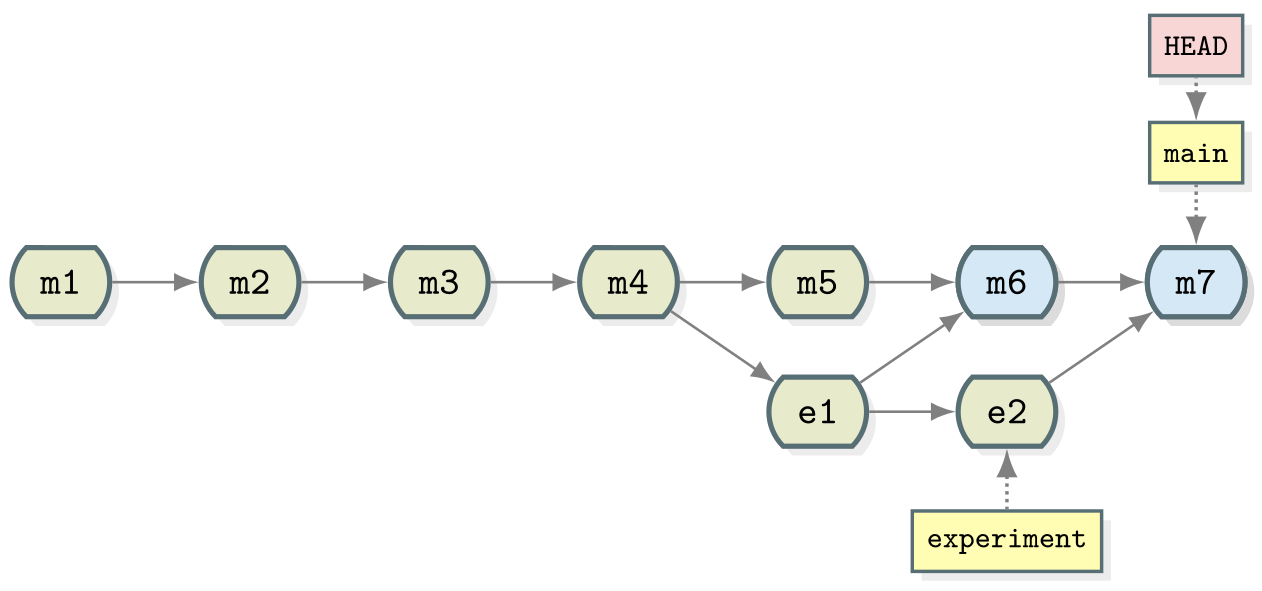
Repository with second merge
Merge conflicts
Figure 1
Repository with a merge conflict
Figure 2
Repository with third merge
Rewriting history with Git
Figure 1
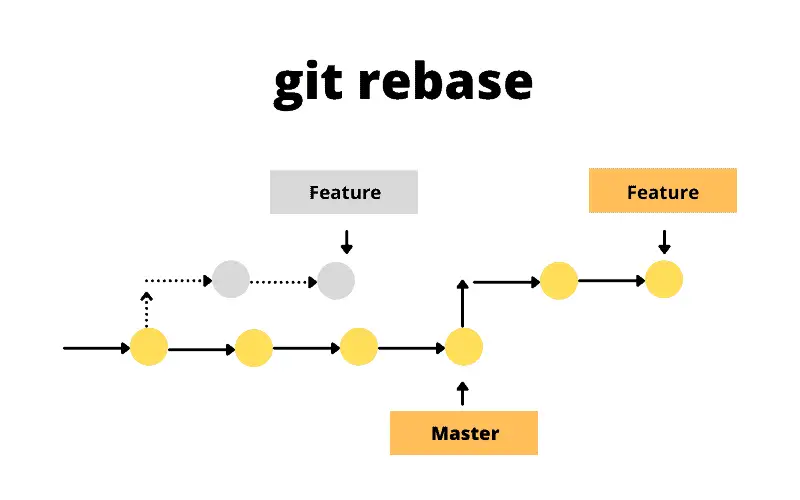
Rebase process with a feature branch being moved
to another branch
Pulling and Pushing
Figure 1
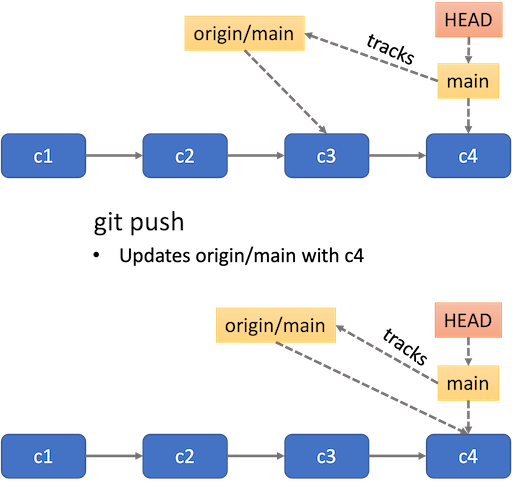
Summary of pushing a branch
Figure 2
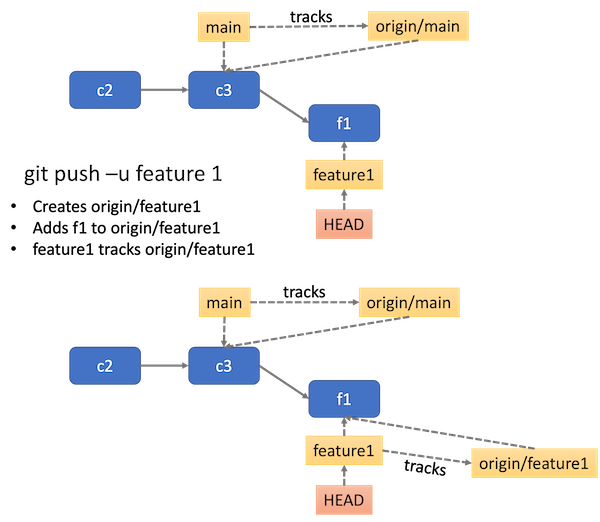
Push a branch without an upstream yet
Figure 3
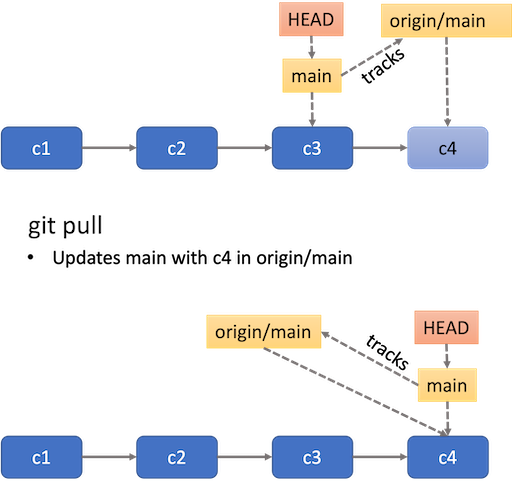
Pull remote changes
End of first session
Managing contributions to code
Figure 1

Figure 2

Figure 3

Figure 4

Using GitHub actions for continuous integration
Figure 1
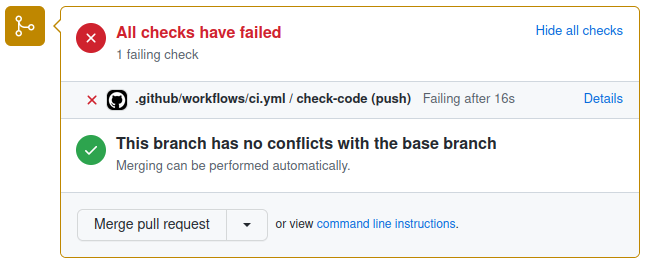
Panel from GitHub pull request user interface
showing failing CI checks
Figure 2
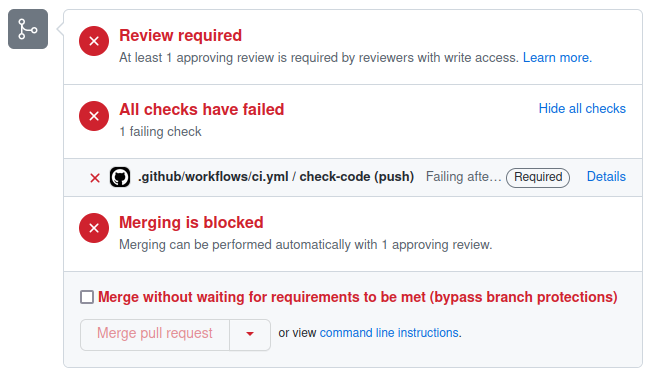
Panel from GitHub pull request user interface
showing failing CI checks with merging blocked due to a branch
protection rule
Code versions, releases and tags
Figure 1
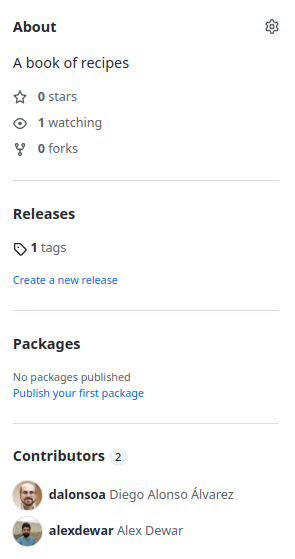
Release page showing 1 tags
Figure 2
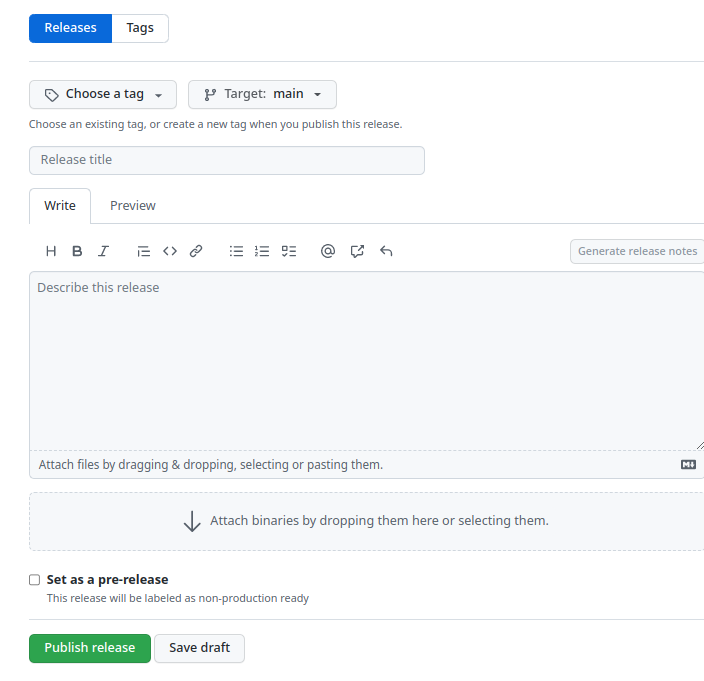
Creating a new release
Figure 3
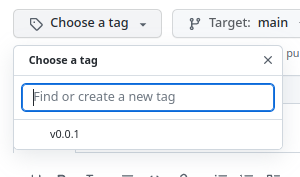
Choose your tag
Figure 4
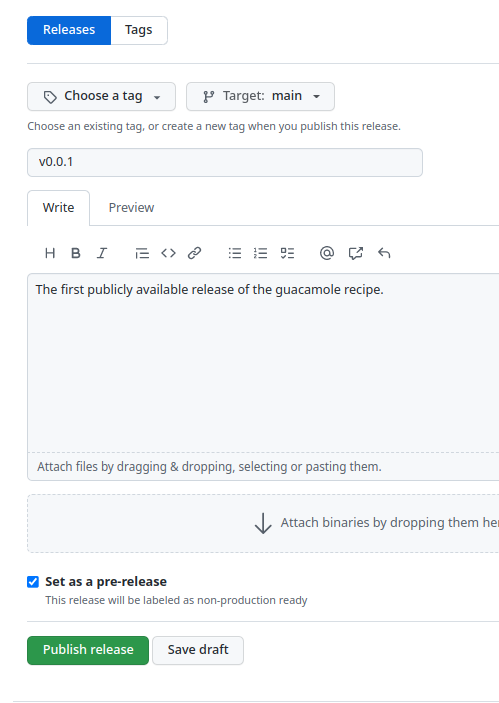
Publish your release
Figure 5

View release
Collaborative development
Figure 1
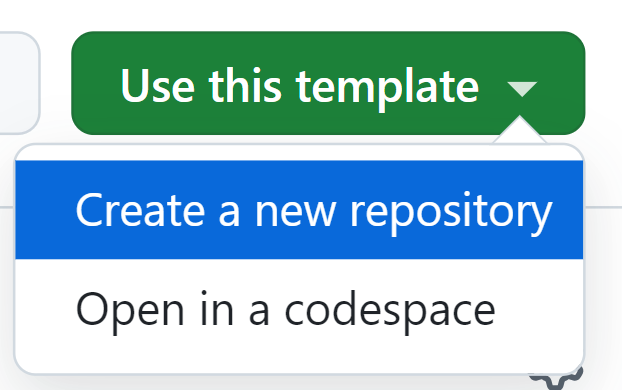
Use this template